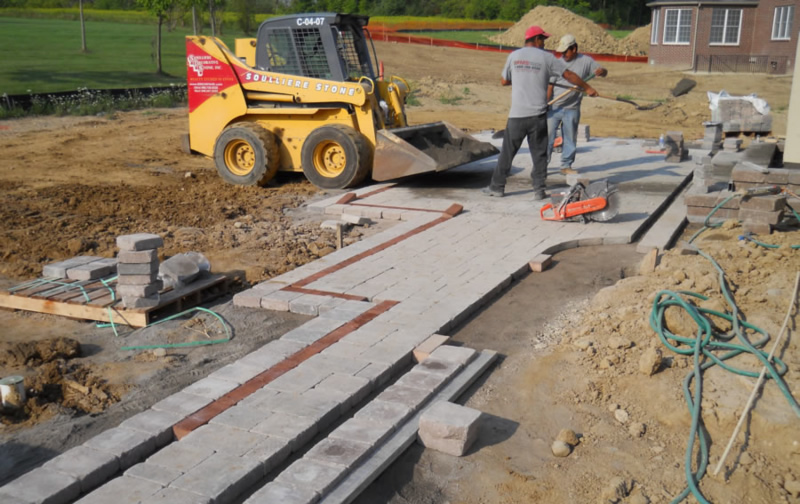
Installing pavers can add beautiful and unique features to the outside of your home. They allow you to have more versatility and creativity with design and colors than traditional concrete. So, when you decide to add a paver hard surface to your property, it is a decision that you likely have considered for a while, have taken time to find the right features, and are ready to invest in to have new pavers installed. When you hire a White Lake brick paver contractor to do the work, you will have to manage the project and make sure that the work is being done correctly. Here is what you need to know about the process of installing pavers.
Step 1: Demolition
If you are replacing an old surface with a new paver surface, there may need to be some demolition. You may even need to do some demolition work if you are taking out part of your yard to install a new patio. You will want to make sure that your White Lake brick paver contractor is removing only the things that need to be removed and they are not causing damage to other parts of your property during this part of the process. If something is damaged, make sure you let the crew know, so that they can address it promptly. The paver company should also have insurance to cover anything they damage, rather than it falling on your pocket book.
Step 2: Leveling
Once the area where the hard surface is being installed has been cleared of existing features, it is time to start leveling the space for the brick installation. This may require the brick paver contractor to bring in new fill material, install a retaining wall to make a flat grade, or bring in equipment to compact the existing soil. A flat, level surface is essential to ensuring that your new paver surface will be level and free from bumps and dips. Once the surface is flat and level, your brick paver contractor may install a barrier fabric to keep weeds from growing through your brick.
Step 3: Sand and Gravel
Sand and gravel will help your brick stay level and move without heaving or dipping. On top of the barrier fabric, your contractor will add a mix of small gravel and fine sand. This should be at least a few inches (3 to 4 inches) deep. This mixture will fill in any dips or shallow areas in the base surface, and provide a nice flat surface to set the brick on. Make sure that your White Lake brick paver contractor installs an adequate amount of sand and gravel. Not having enough will eventually cause dips and bumps.
Step 4: Brick Installation
This is the fun part! You will now see your new surface come together. Your brick paver contractor will have the design plans on hand to make sure that your surface is installed just the way you want. This doesn’t mean that you should walk away and just let the work happen. Make sure that you are present and that the installation looks like you planned and matches any drawings you have. Catching issues early will make sure that there is less work and headache for you and your contractor.
Step 5: Fill and Seal
This is the final step. Your brick paver contractor will come back, after all the brick has been installed and fill the cracks with either grout or sand. This will keep the bricks from moving around. Once the spaces are filled, you may want to have your contractor apply a seal to the bricks. This seal will protect the bricks from scratching, harsh weather, and pests. This part is not necessary, but is recommended if you want a long lasting, low maintenance hard surface.
Looking for a White Lake Brick Paver ?
Pavers are a great way to spruce up your outdoor space. If you are ready to install a beautiful new paver hard surface, and you are  looking for a White Lake brick paver contractor, PMS Diversified Construction is ready to help. For information on our services or to schedule an installation, call us at 1-800-BRICK-PAVERS.
